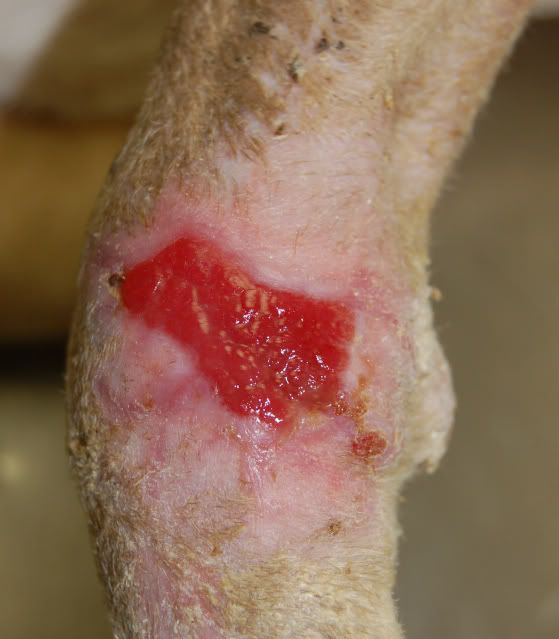
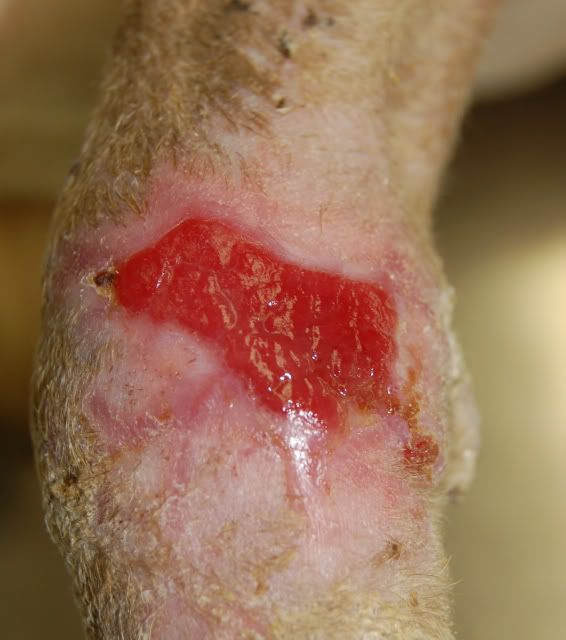
***WARNING -- surgery wound pics ahead!***
*sigh* Here we go again.

Removing inside layers of old bandage (the brown stain is a bit of seepage from the wound)
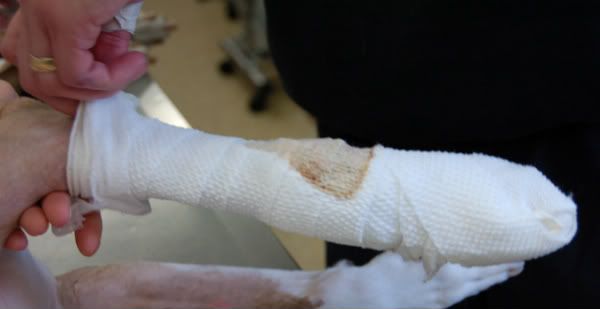
Here's the beginning of the wound
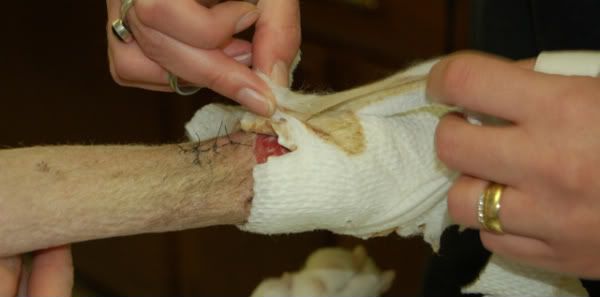
Removing the last stirrup
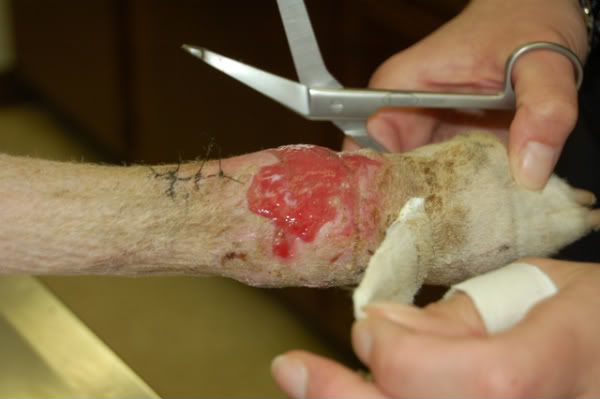
Mom, I really want to lick it.

And the wound itself. The dark red is the granulation tissue that is replacing the removed tumor. The white specks in the granulation tissue is the skin starting to regrow. The stitches will probably stay in for a bit longer.
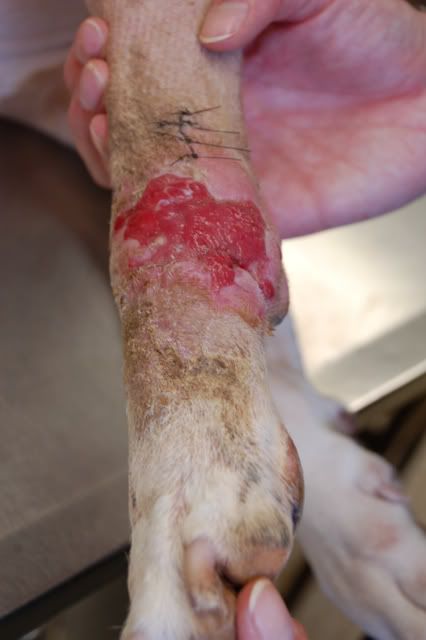
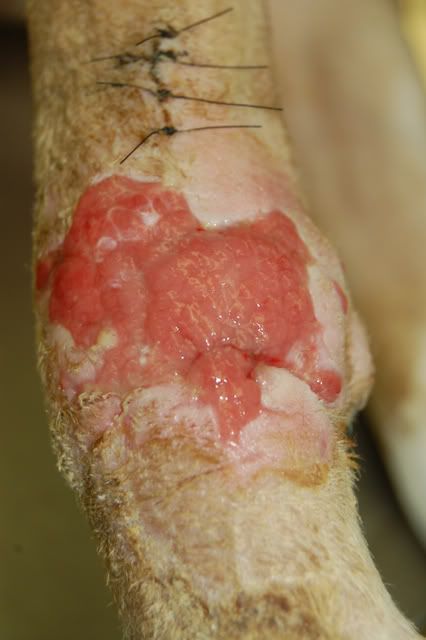
A non-stick pad is added over the wound, then the site is wrapped in bandaging. The long hanging pieces of tape are called "stirrups", and they are attached directly to the skin. Once the bandaging is complete, the stirrups will be folded back over the bandage and will prevent the bandage from falling off.
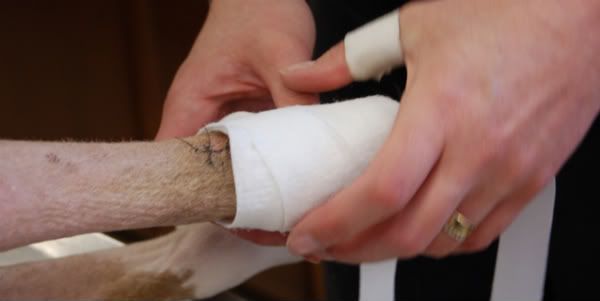
Are we done yet?

More bandage material
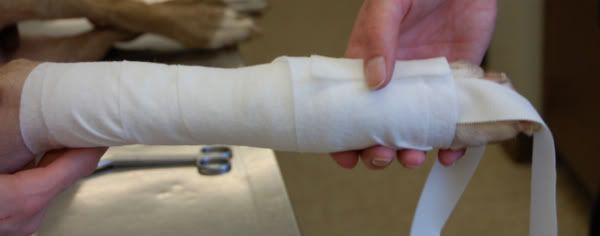
Wrapping around the foot (his nails are peeling because they've been wrapped up for a long time).
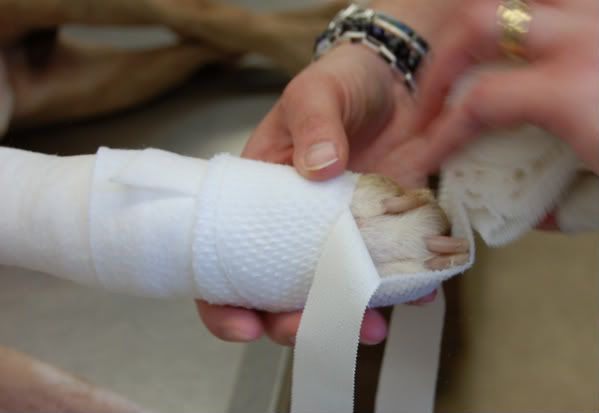
After the first layer of bandage is done, the splint is added. It prevents Indy from bending his ankle and splitting the wound open.
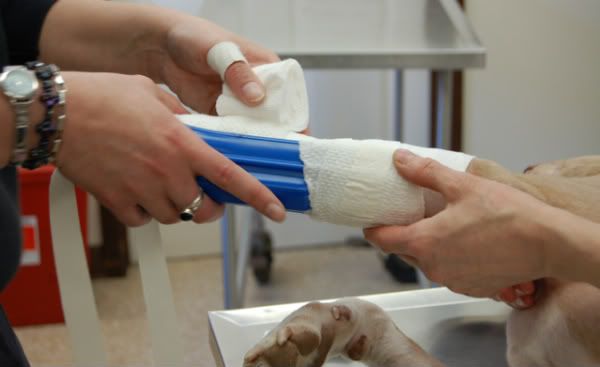
More bandage material is added to hold the splint in place.
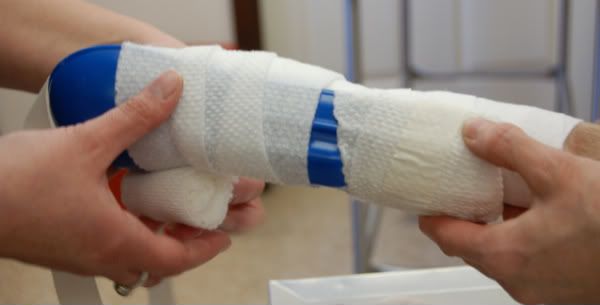
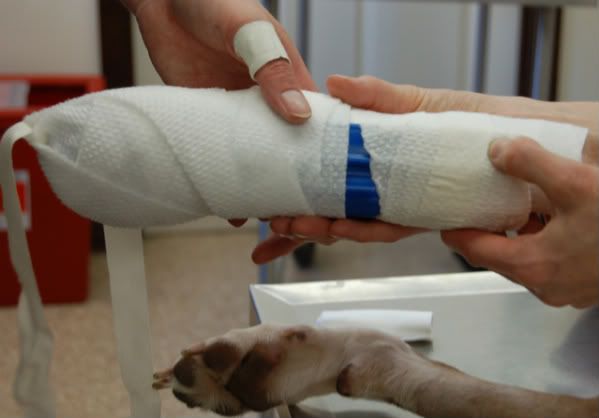
Now a layer of gauze is added to hold all the bandage material in place.
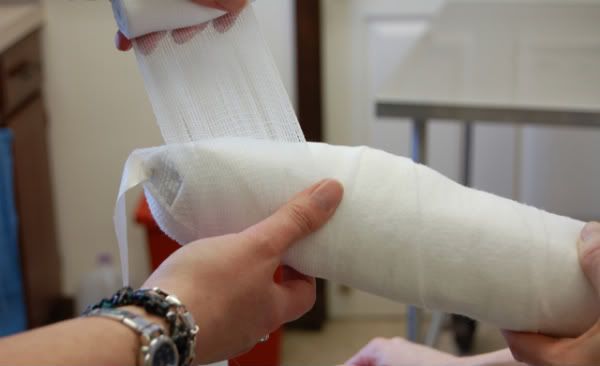
The stirrups are folded up and stuck to the bandage.
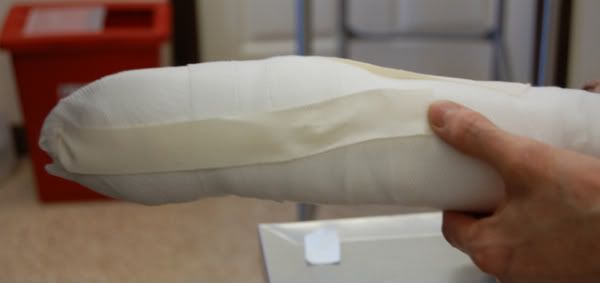
Once the stirrups are fastened, the vet wrap is applied in layers.
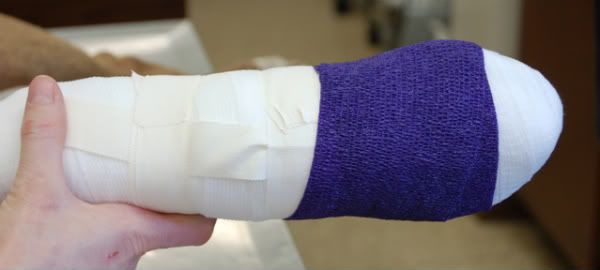
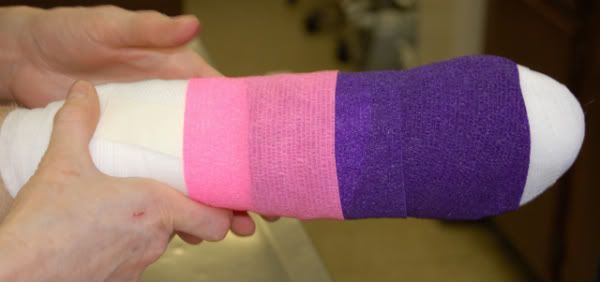
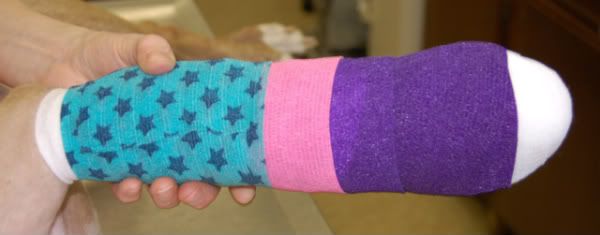
How about now?
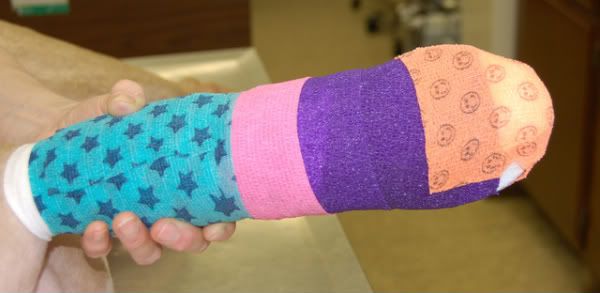
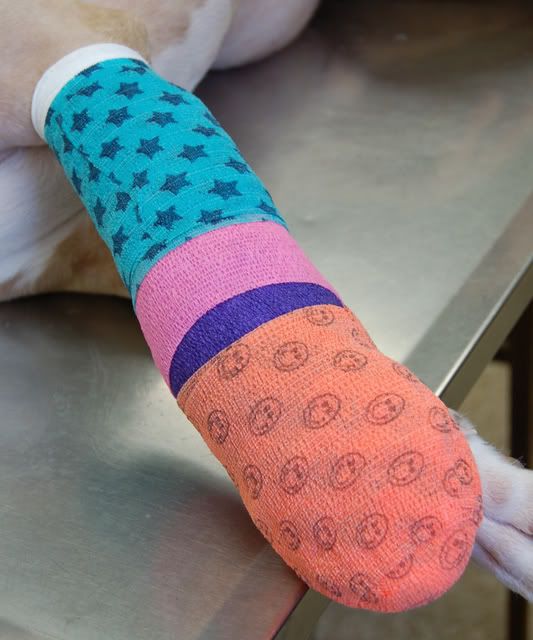
Once the hearts are added, we're done!
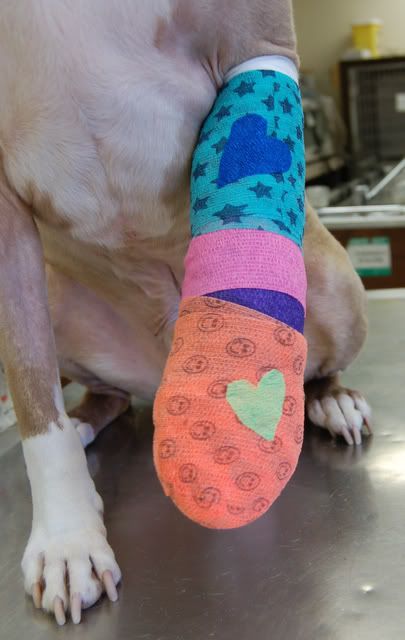


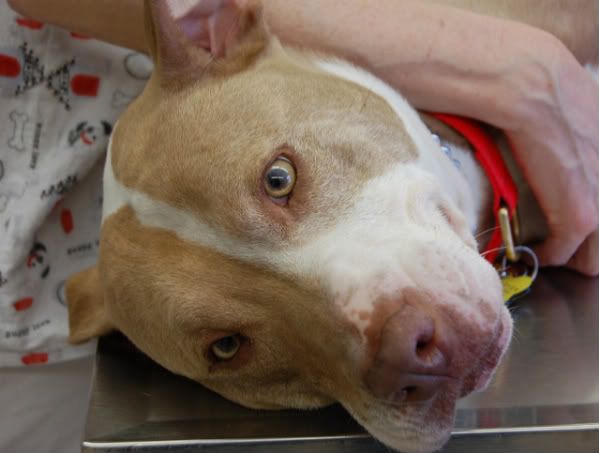
 It would all be for nothing if I didn't have the best patient and client to help!
 It is a win/win situation when we can all work as a team!
 God why do I never listen to the warnings... I closed my eyes and pushed the down arrow until I seen bandage. Yikes, I'm glad it looks so much better, bless his heart.

